 жора
 ㅤ
жора
понял, спасибо большое!
ㅤ
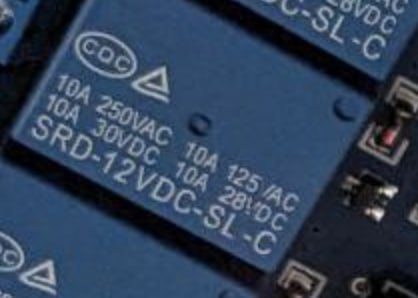
Массивно, шумно, энергозатратно (ток удержания катушки тоже не бесплатный). Не вижу смысла
жора
а как ею ещё можно управлять?
ㅤ
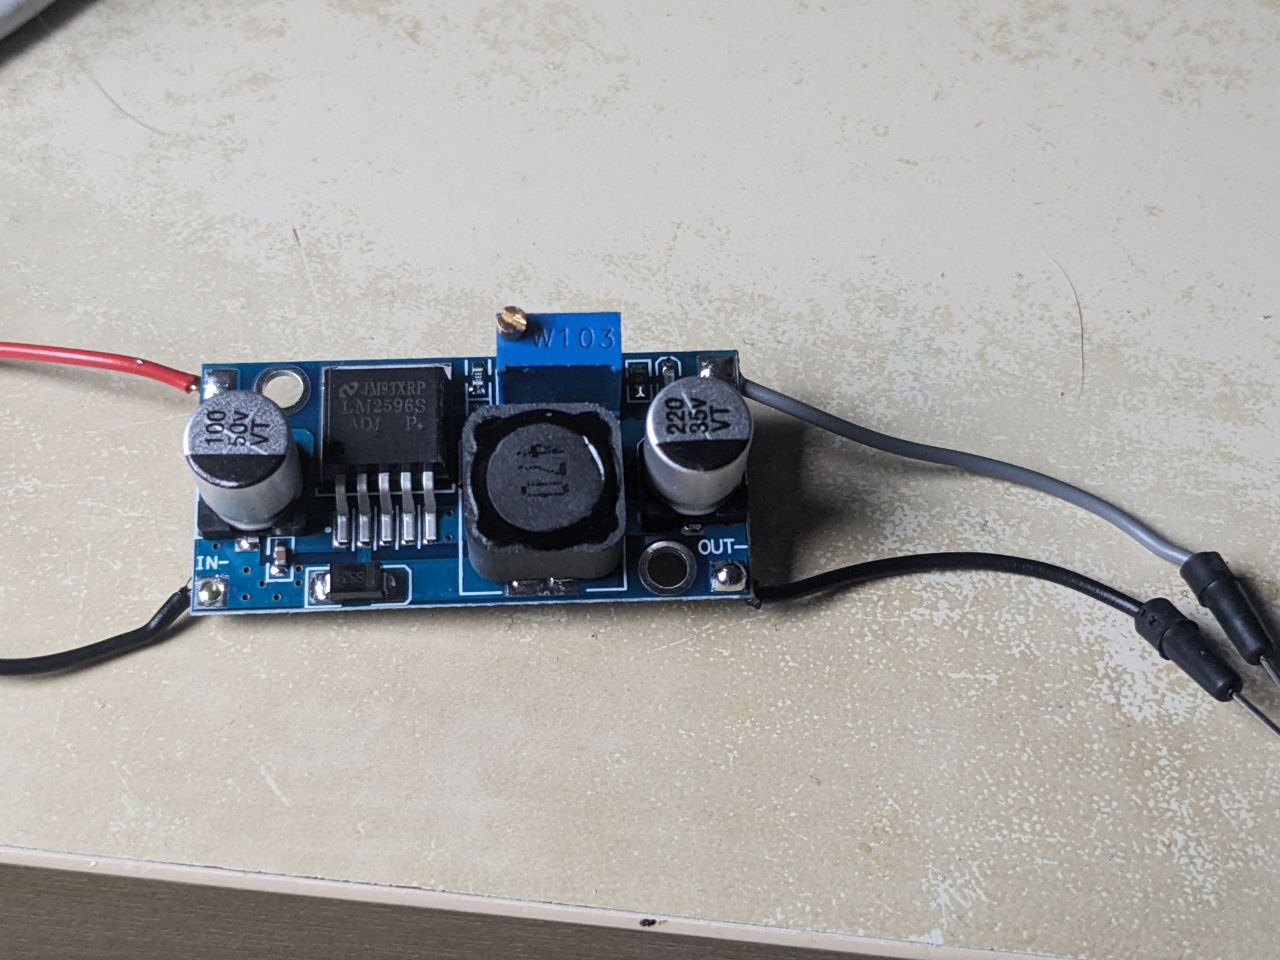
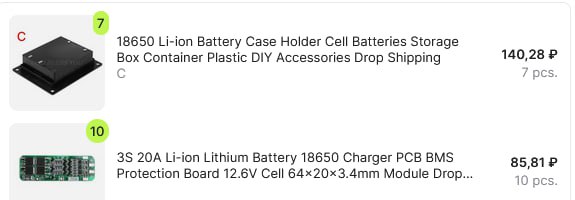
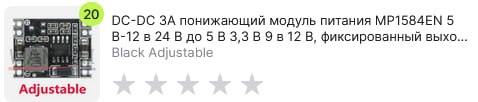
На алике даже готовые модули продаются для особо ленивых
ㅤ
https://aliexpress.ru/item/1005002626970800.html
Типа таких
ㅤ
Можно даже шим организовать и яркостью управлять с помощью него
ㅤ
Max
Smart Lamp Design Using ESP-12F and WS2812 RGB LEDs
A Wi-Fi-controlled smart lamp using ESP-12F and WS2812 RGB LEDs, adjustable via mobile, PC, or the internet based on time.
https://www.hackster.io/dogukansahil/smart-lamp-design-using-esp-12f-and-ws2812-rgb-leds-739193
Денис
Всем привет. Есть 10 шаговиков и SPI, собираюсь сделать плату для разводки всего этого безобразия. Cмотрел в сторону конструкции MKS-TinyBee. Там используются сдвиговые + что-то еще. Какие камни лучше выбрать для этой задачи?
 Stanislav
Max
ESPuno Pi Zero WiFi BT Zigbee Thread 60V
ESPuno Pi Zero is a STEM Maker and Developer SDK board based on an Epsressif ESP32-C6, featuring a wide operating voltage of 5-60V
https://www.hackster.io/DitroniX/espuno-pi-zero-wifi-bt-zigbee-thread-60v-69ef92
Max


Leon Böttger's Experimental Firmware Turns Any Espressif ESP32 Into a Google Find My Device Tag
Developer and security researcher Leon Böttger has written a firmware that lets any Espressif ESP32 microcontroller act as a device on the Google Find My Device network — along with standalone tools for querying trackers and compatible devices. "This code enables you to use an ESP32-device as a custom Google Find My Device tracker. Note that the firmware is very experimental," Böttger writes of the project. "The firmware works differently to regular Find My Device trackers. It is made to be as simple as possible. It has no Fast Pair support, MAC rotation, advertisement rotation, etc." Google launched the Find My Device service in 2013, allowing owners of lost Android smartphones and tablets to locate their devices based on connections to other nearby devices. In 2024 the company expanded the Find My Device network to cover additional devices, including asset tracking tags — and now it's possible to build your own tag on the cheap. Böttger's firmware, part of a wider project dubbed Google Find My Tools, allows Espressif ESP32 devices to be loaded with a public key and registered on the Find My Device network like any other tag — with a few caveats. The first two are the biggest: at the time of writing tags built using the firmware wouldn't show in Google's Find My Device app but could be located using Böttger's own Python tool, and devices may need to be re-registered to the network after three days in operation. "Working on a fix," Böttger says of the latter. The project is similar in many ways to OpenHaystack, which turns similarly-specified low-cost microcontrollers into Apple AirTag equivalents compatible with the company's own Find My network — and for which engineer Aaron Christophel recently wrote a web flasher to simplify the process of turning a Telink TLSR8252-based microcontroller module, costing around $2, into a working AirTag clone. The firmware, along with tools for querying Find My Device compatible hardware, reading out their encryption keys, and decrypted locations sent from the network, is available on GitHub under the reciprocal GNU General Public License 3. A new suite of utilities for the Google Find My Device includes a firmware for building Espressif ESP32-based tags. (📷: Leon Böttger)
https://www.hackster.io/news/leon-bottger-s-experimental-firmware-turns-any-espressif-esp32-into-a-google-find-my-device-tag-0cb0ea9c08c1
Max
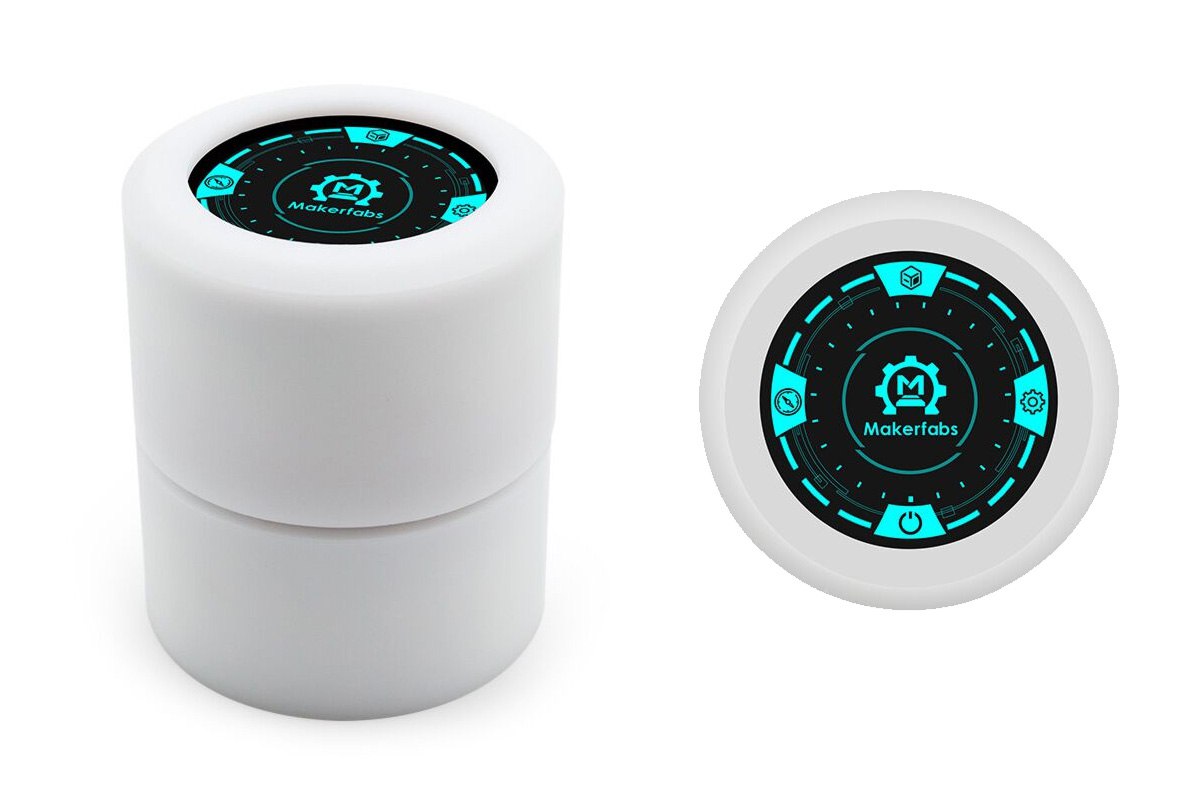
MaTouch SmartKnob Assembled ESP32-based rotary knob with touchscreen display sells for $69
Makerfabs has recently released “MaTouch SmartKnob Assembled” based on the SmartKnob View open-source hardware design but enclosed in a plastic case. As a reminder, the SmartKnob View is an ESP32-S3-based DIY rotary knob built around a BLDC motor. With clever software and engineering, the motor is so configured that it can do software configurable detents,…
https://www.cnx-software.com/2025/02/12/matouch-smartknob-assembled-esp32-based-rotary-knob-touchscreen-display/
Max
Gus 2.0 Is an Adorable Desktop Robot That Monitors the Conditions of a Room
Do you ever feel like the room you’re sitting in just isn’t comfortable, but you can’t quite figure out why? Maybe your throat has a mysterious scratchiness or you’re sweating more than normal. It sure would be nice if there was some way to figure out what environmental conditions are causing your discomfort. Enter Gus 2.0 , an adorable little desktop “robot” built by Makestreme to monitor several environmental data points. Gus 2.0 isn’t actually a robot — it just looks like one and the design is very cute, like the kind of robot you might see in an animated Pixar flick. The face is a display with two big eyes and those provide an indication of the conditions in the room. If the eyes are big and full, everything is good, with each monitored parameter falling within the desired range. But if the eyes start drooping, that means something in the room is wrong. Maybe the temperature is too cold or the air quality is subpar. If the user desires specifics, they can touch the top of Gus 2.0’s head to see the real-time sensor readings. Makestreme designed Gus 2.0 to monitor three different parameters: temperature, humidity, and air quality. Those first two are straightforward enough, but the term “air quality” on its own can mean a lot of different things. In this case, the sensor detects concentrations of potentially hazardous or toxic gases, including carbon monoxide, alcohol, formaldehyde, and others. That air quality sensor and all of the other electronic components came from Seeed Studio. Gus 2.0’s brain is a Seeed Studio XIAO ESP32-C3 development board. The temperature and humidity module, part of Seeed Studio’s Grove line, contains a DHT22 sensor. The Air Quality Sensor v1.3 also has a Grove connector, as does the Touch Sensor. The Grove connectors made wiring easy, though Makestreme did still do some soldering to connect the modules to the XIAO dev board. Those components all fit into the 3D-printed enclosure that Makestreme designed in Autodesk Fusion 360. This was Makestreme’s first attempt at creating a CAD model specifically for 3D printing and there was a mistake that required some trimming, but the enclosure still looks nice. Finally, Makestreme programmed Gus 2.0 using the Arduino IDE. That programming included a function to rate “comfort level” on a scale from 0 to 4, which ultimately controls the droopiness of the displayed eyes.
https://www.hackster.io/news/gus-2-0-is-an-adorable-desktop-robot-that-monitors-the-conditions-of-a-room-5db35b7f229e
 Dmitriy
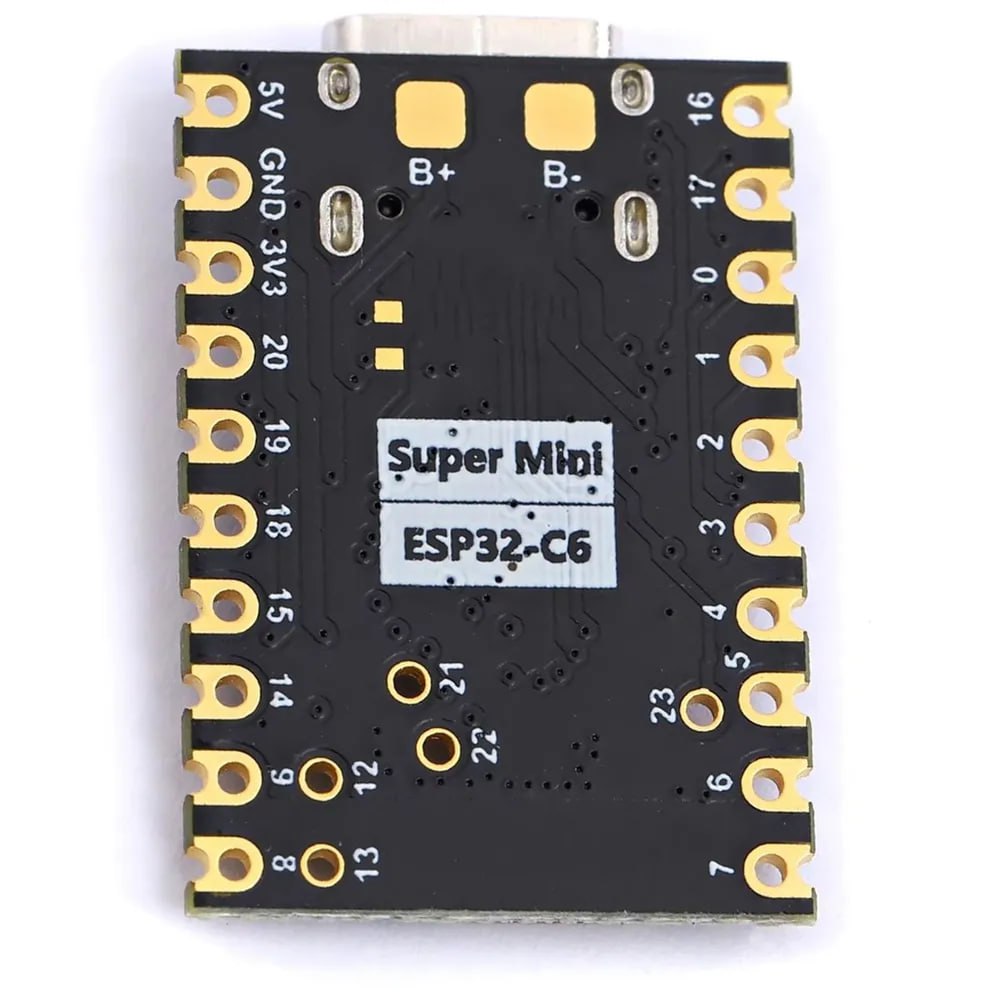
Смотрю на ESP32-C6. У него на плате есть пятки B+ и B-. В спеках на С6 не вижу ничего про работу с батареей. Подскажите, что это за пятаки?
Dmitriy
И в целом, есть ли готовые ESP киты, чтобы с одной-двумя 18650 или 21700 можно было использовать несколько дней от одного заряда аккумулятора при использовании засыпания. Вроде такие штуки есть на озоне, но в отзывах увидел, что даже в deep sleep там значительное энергопотребление из-за преобразователя.
ㅤ
 Sergey
ㅤ
Dmitriy
ㅤ
Банку 21700 ты запаришься заряжать через неё... Либо будет бабах. Вообщем я бы не рискнул
Tonchik
 Вадим
Добрый день.
Нужна помощь с ESP32-S3. Никак не разберусь с Flash Encryption.
Кто-нибудь знает как это настроить?
Max
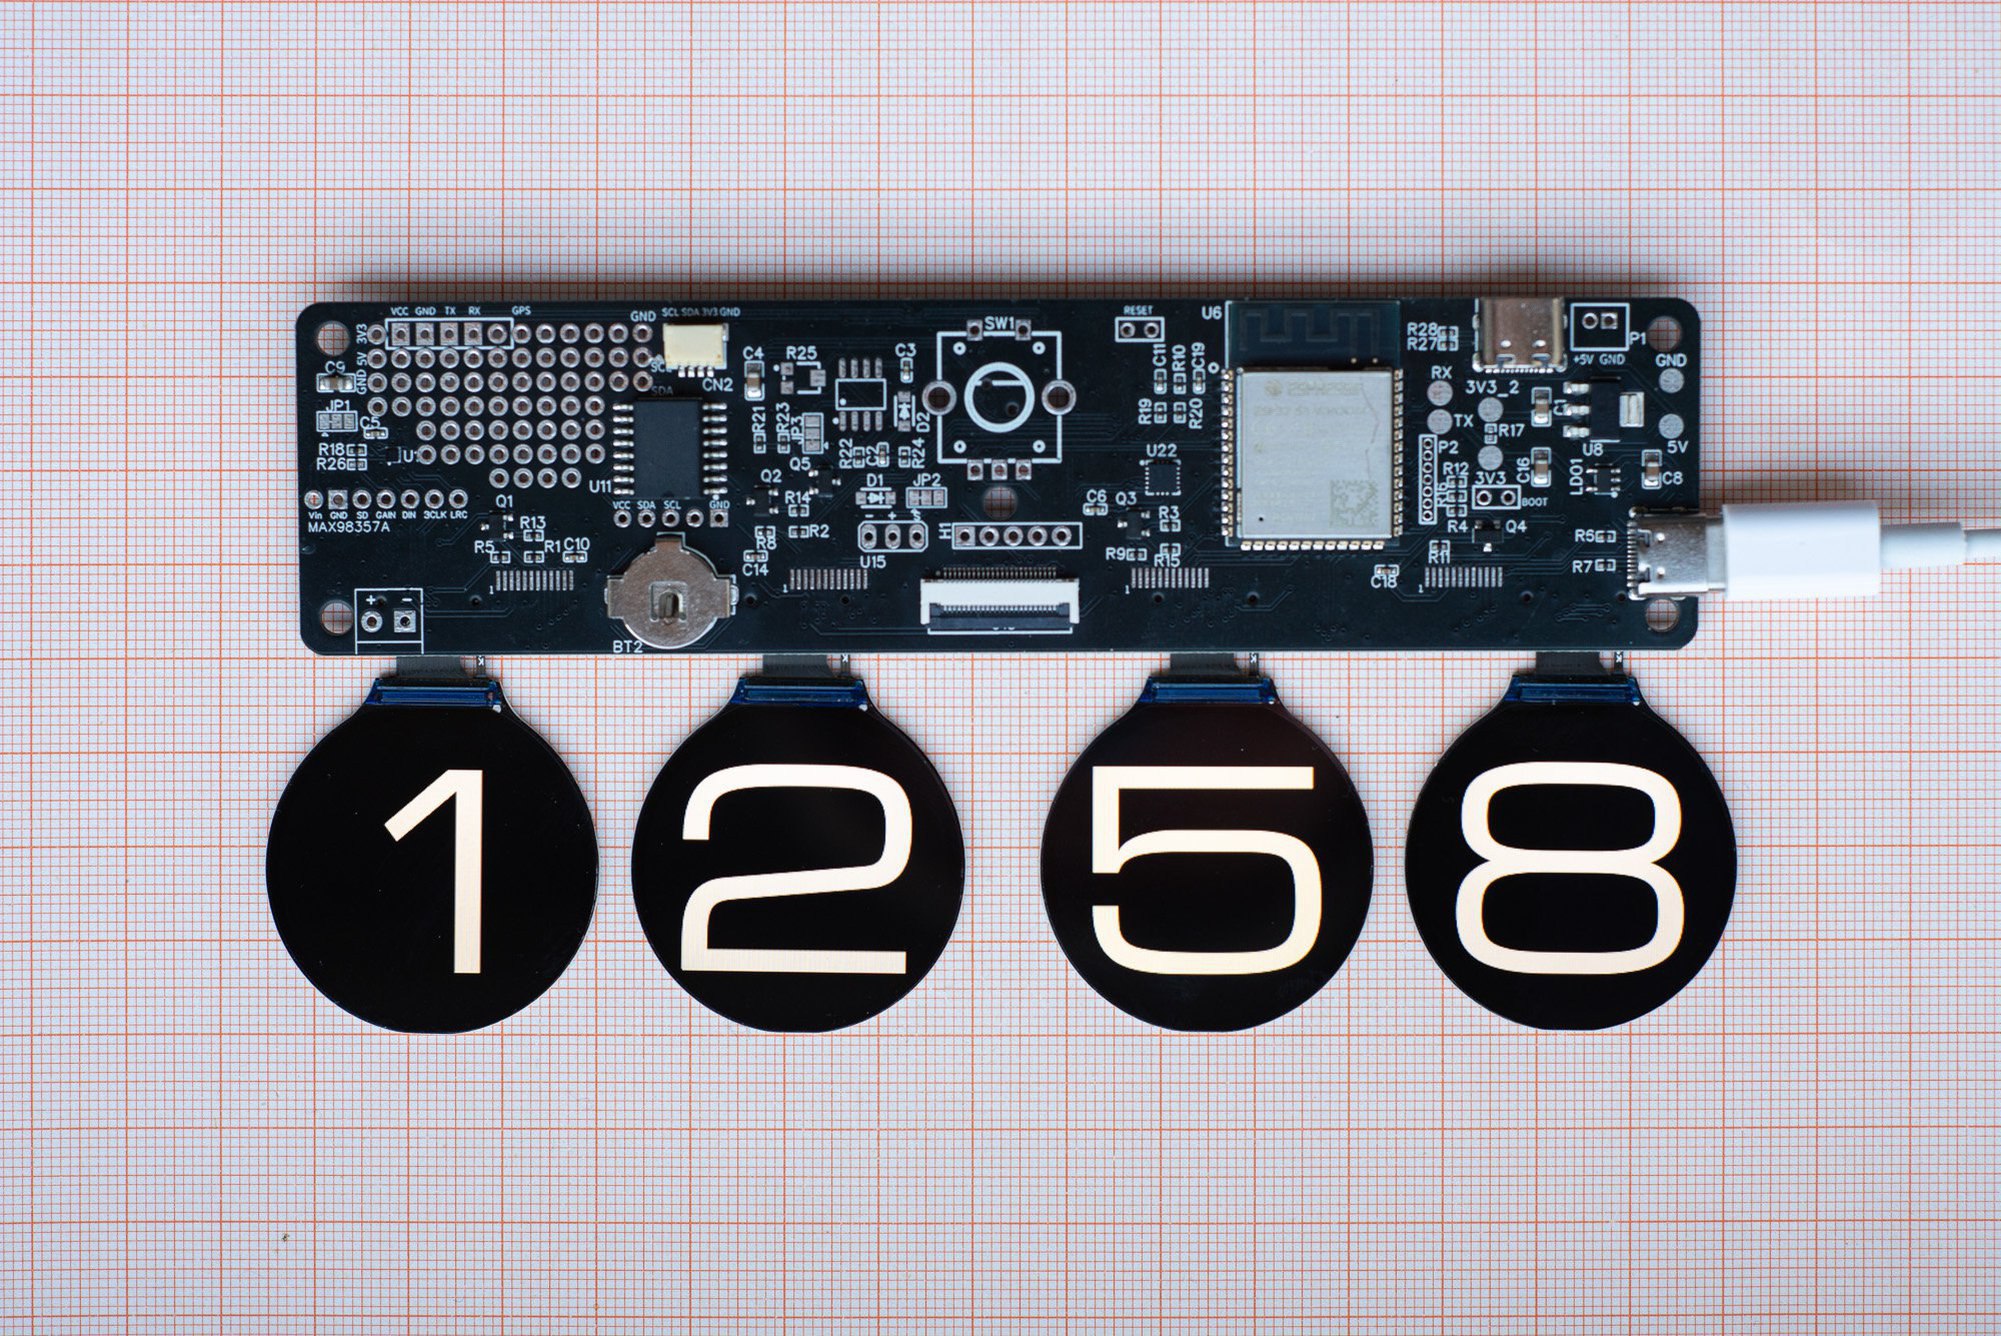
QuadClock PCB – An ESP32-S3 multi-display clock controller for DIY enthusiasts
The QuadClock PCB is an ESP32-S3-powered multi-display clock controller designed to serve as a foundation for creating a four-TFT-display clock. It supports up to four 1.69-inch rectangular TFT displays (240×280) or four 1.28” round displays (240×240). It manages essential functions such as driving the displays and maintaining precise time, allowing you to focus on crafting…
https://www.cnx-software.com/2025/02/13/quadclock-pcb-esp32-s3-multi-display-clock-controller-for-diy-enthusiasts/
Max
 Alexey
Глянь, может подойдёт.
Есть такие же с есп32.
Только там нет защиты от разряда акб, хоть и заявлено, надо батку с защитой использовать.
Sergey
Sergey
Вадим
python3 espsecure.py generate_flash_encryption_key key_esp32s3.bin
python3 espefuse.py --port COM16 burn_key BLOCK_KEY0 key_esp32s3.bin XTS_AES_128_KEY
python3 espefuse.py --port COM16 --chip esp32s3 burn_efuse SPI_BOOT_CRYPT_CNT 7
вот так это выглядело
Вадим
python3 espefuse.py --port COM16 burn_efuse DIS_DOWNLOAD_MANUAL_ENCRYPT
но самое печальное вот это
Вадим
пробовал писать как нешифрованные BIN так и шифрованные этим ключом
python3 esptool.py --chip esp32s3 --port COM16 --baud 921600 write_flash --force 0x1000 bootloader-enc.bin
python3 esptool.py --chip esp32s3 --port COM16 --baud 921600 write_flash --force 0x8000 partitions-enc.bin
python3 esptool.py --chip esp32s3 --port COM16 --baud 921600 write_flash --force 0xe000 boot_app0-enc.bin
python3 esptool.py --chip esp32s3 --port COM16 --baud 921600 write_flash --force 0x10000 firmware-enc.bin
Sergey
Max
https://www.nextpcb.com/blog/Beetle-ESP32C6-free-pcba-prototypes-nextpcb-accelerator
Вадим
Sergey
А как планировал обновляться? Ota настроил, проверил? Надо с этого начинать
Вадим
А как планировал обновляться? Ota настроил, проверил? Надо с этого начинать
C:\Users\VADIM\.platformio\packages\tool-esptoolpy>python3 esptool.py --chip esp32s3 --port COM16 --baud 921600 write_flash --force 0x1000 bootloader.bin
esptool.py v4.8.5
Serial port COM16
Connecting...
Chip is ESP32-S3 (QFN56) (revision v0.2)
Features: WiFi, BLE
Crystal is 40MHz
MAC: 34:b7:da:69:93:8c
Uploading stub...
Running stub...
Stub running...
Changing baud rate to 921600
Changed.
Configuring flash size...
Flash will be erased from 0x00001000 to 0x00008fff...
Compressed 32736 bytes to 19445...
Wrote 32736 bytes (19445 compressed) at 0x00001000 in 0.3 seconds (effective 750.5 kbit/s)...
Hash of data verified.
Leaving...
Hard resetting with RTC WDT...
Вадим
ну и так все 4
ㅤ
Шо опять управление теплицей шифруют что-ли? Чтож ты делать будешь. Секретные алгоритмы однако
Вадим
Sergey
Вадим
Sergey
Вадим
Проьовал фьюзами отменить шифрование или нет?
я перед попыткой сохранил summary . поэтому вижу всю разницу
это вышеупомянутые 2 фьюза.. они одноразовые, взад не вернешь, а еще эти два
WR_DIS (BLOCK0) Disable programming of individual eFuses = 8388864 R/W (0x00800100)
RD_DIS (BLOCK0) Disable reading from BlOCK4-10 = 1 R/W (0b0000001)
ну и сам ключ
KEY_PURPOSE_0 (BLOCK0) Purpose of Key0 = XTS_AES_128_KEY R/- (0x4)
BLOCK_KEY0 (BLOCK4)
Purpose: XTS_AES_128_KEY
Key0 or user data
= ?? ?? ?? ?? ?? ?? ?? ?? ?? ?? ?? ?? ?? ?? ?? ?? ?? ?? ?? ?? ?? ?? ?? ?? ?? ?? ?? ?? ?? ?? ?? ?? -/-
вот собственно и всё.. или я недоделал, или лишнего сделал..
Sergey
Sergey
ㅤ
Вадим
Вадим
ㅤ
Вадим
Вадим
и не минск даже
ㅤ
это солнечная РБ
Я думал когда речь шла про российские рубли то речь идет про РФ
ㅤ
В РБ, да, печально
Вадим
Вадим
да эта плата и была кошкой.. я же написал уе.. но вязанки кошек увы нет..
Вадим
тут ведь вопрос в том, что если бы кирпич, то я бы плюнул и растерел и даже не писал ничего сюда..
но он шьется, мониторится по usb.. а значит можно мучать пока не окирпичится..
поэтому и прошу - помогите понять что у меня не так.
Вадим
Sergey